When it comes to home improvement projects, spray painting kitchen surfaces can seem seamless and quick to update the look of your kitchen. But without the right guidance and methods, it might easily lead to a disorganized, disappointing outcome. A lot of inexperienced do-it-yourselfers make basic yet crucial errors that leave their kitchens dripping, streaky, or just plain chipped.
When spray painting kitchen surfaces, common mistakes to avoid are not thoroughly cleaning the surface with the appropriate chemicals and preparing it for spraying. The fresh paint will not adhere correctly to any grease, grime, or cleaning soap residue that remains on worktops, cabinets, or walls. Before using any paint sprayer, make sure that all surfaces are properly cleaned with the appropriate degreaser and given time to dry.
Avert These Typical Errors When Applying Spray Paint
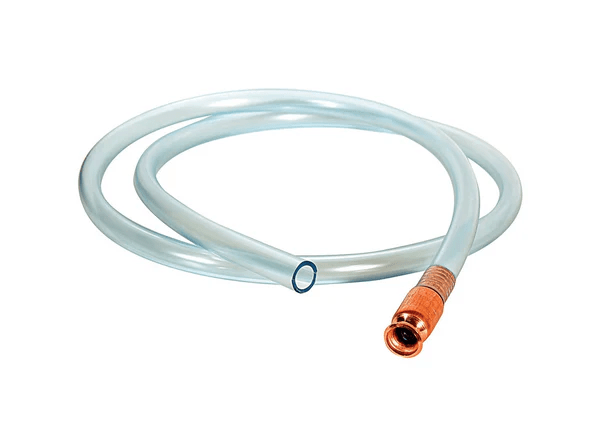
- Avoid using the incorrect kind of paint. Use the appropriate spray paint that is made specifically for kitchen surfaces, such as worktops, cabinets, and appliances. Steer clear of popular wall paints such as emulsion. The Siphon hose is the best for applying smooth paint.
- Make sure the floor and surrounding areas are ready. To ensure better paint adhesion, thoroughly clean, sand, and prime any surfaces before applying the spray.
- Refrain from over-spraying. For sections that you do not need to color, mask them off with tarps, painter’s tape, and tack cloths. Overspray can damage household appliances and worktops.
- Avoid painting too quickly during practice. One thick coat is preferable to several thin coatings. If thick coats are applied incorrectly, they may run or drip.
- Pay attention to drying times. Observe the manufacturer’s instructions for drying time in between applications. Painting that is too thin or tacky results from rushing the procedure.
- Keep the appropriate space between sprays. Drips and runs can occur if you hold the can too closely. If you hold it too long, the paint may dry out before sticking.
- Be aware of drips. If you’re not careful, paint can collect and run down the undersides of cabinets and countertops.
- Steer clear of painting in extremely hot or cold temperatures, or direct sunlight. This can have a detrimental effect on the outcome.
- Have patience. For spray-painted surfaces to completely solidify and become durable, a few days of curing time may be needed. Don’t swap out things too quickly.
Make Sure Surfaces Are Ready Before Spray Painting
It’s essential to completely clean and degrease every surface before painting. To get rid of any oil, filth, or soap residue, carefully scrub all cupboards, walls, countertops, and other surfaces using the proper degreaser. Make sure you reach all the nooks and crannies. After that, let everything dry fully. Depending on the humidity, drying times might range from hours to overnight.
Wash and grease every surface completely.
You must take your time with the preparations. Enough drying time guarantees that the paint will adhere correctly. The paint will peel or flake off soon after application if there is still any moisture present. Even if it means allowing surfaces to dry for a whole day or longer, exercise patience. Taking short corners puts money and effort at risk.
Sand High-Sheen Surfaces to Boost Paint Adhesion
When spray painting kitchen surfaces, a common mistake to avoid is not washing the surfaces again after sanding, since this could potentially obstruct proper paint bonding. Recall that meticulous preparation is required yet time-consuming. A well-adhered paint job ensures that it won’t peel off easily.
Apply the Correct Spray Painting Method
To prevent drips or thin coverage, keep your distance from the surface constant at one foot. When applying even, fluid strokes, hold the spray paint can about 12 inches away from your body. When spraying, carefully brush your arm around the surface rather than holding the paint stream stationary for an extended time. A fine mist of paint should be released uniformly.
Painter’s tape can be used to shield edges and trims.
When spray painting around knobs, soap dispensers, sinks, or faucets, proceed with utmost caution. Spray nozzle precision aims to eliminate untidy drips, which are hard to clean off chrome or metallic fixtures. Any unwelcome paint particles on these surfaces contrast sharply with the original coating. Operate carefully and release the spray at the appropriate distance. You can use the Titan 440 paint sprayer for a smooth finish.
Conclusion
Before spray painting kitchen cabinets or countertops, experts advise doing the necessary surface preparation, which includes washing, sanding, and priming. This promotes uniform paint adhesion. To prevent drips or thin coverage, use high-quality kitchen paints and maintain the recommended spray distance. Give yourself enough time between light coats to dry.
When spray painting kitchen surfaces, a common mistake to avoid is to thoroughly mask off areas that are prone to overspray before painting. When spray painting kitchen surfaces, it’s crucial to prevent typical blunders like improperly setting up the area. For best results, regulate the temperature and humidity when applying. Holding the container 6 to 8 inches away from the surface, apply several thin coats as opposed to one heavy one. Before applying the next layer, let the previous one completely dry.
Visit blogest for more!